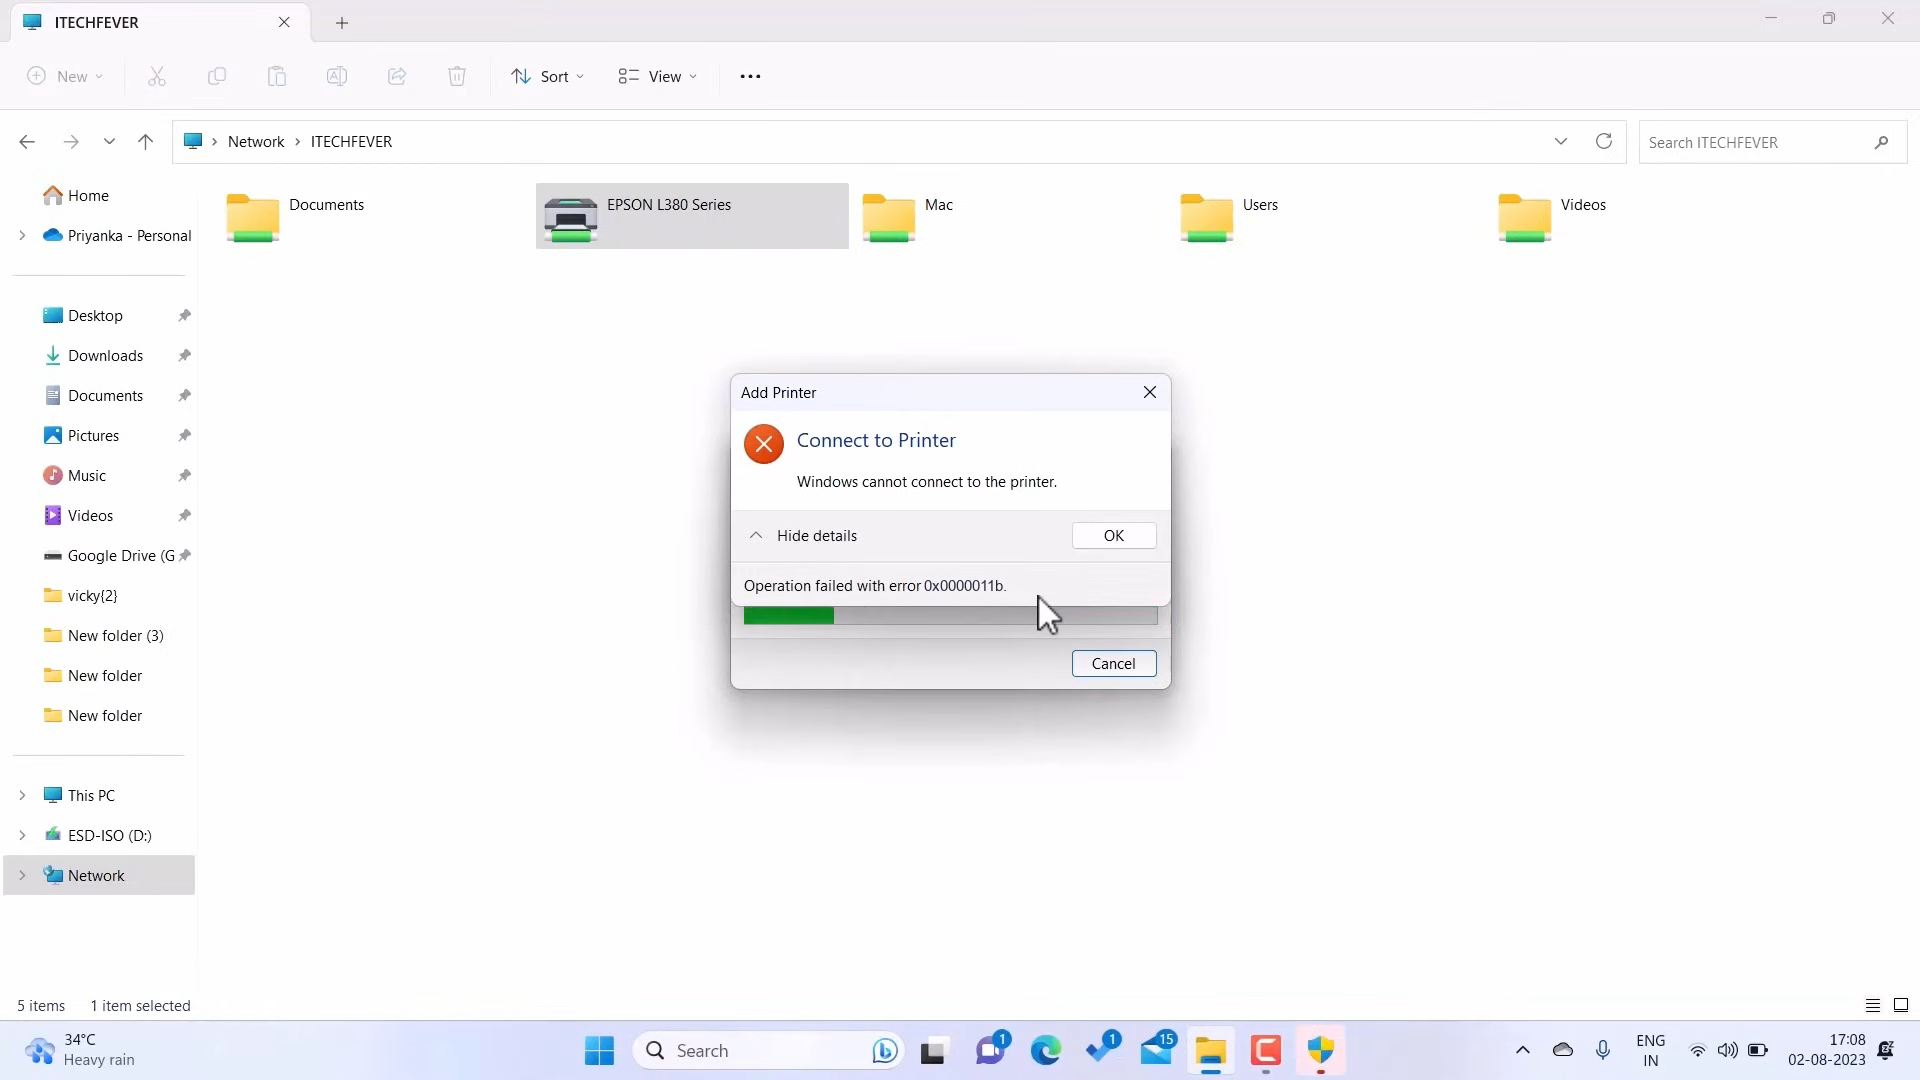
Shared printers are a cornerstone of productive office and home-lab setups — one printer, many users, no extra hardware. Yet a frustrating error has been stopping many Windows users in their tracks. When trying to connect to a shared printer on the local network, Windows pops up the message:
“Windows cannot connect to the printer. Operation failed with error 0x0000011b.”

This error became widespread after a Microsoft security update (KB5005565, released in late 2021) introduced stricter RPC authentication enforcement. While the patch is important for security, it inadvertently broke shared-printer connectivity for countless users across Windows 10 and Windows 11.
The good news: the fix takes less than two minutes and requires no third-party software.
Why Does Error 0x0000011b Happen?
The root cause is a change in how Windows handles RPC (Remote Procedure Call) authentication privacy when communicating with shared printers. After the security update, Windows started requiring a higher authentication level by default — and older or differently configured systems on the same network do not always negotiate it correctly, causing the connection to fail with error 0x0000011b.
Fix — Edit the Windows Registry
This solution disables the strict RPC authentication requirement on the client computer (the one trying to connect to the shared printer), which is safe for most home and office networks.
⚠️ Before you begin: Editing the registry incorrectly can cause system problems. Follow the steps exactly as written. If you are unsure, create a registry backup first: in Registry Editor, go to File → Export and save a full backup.
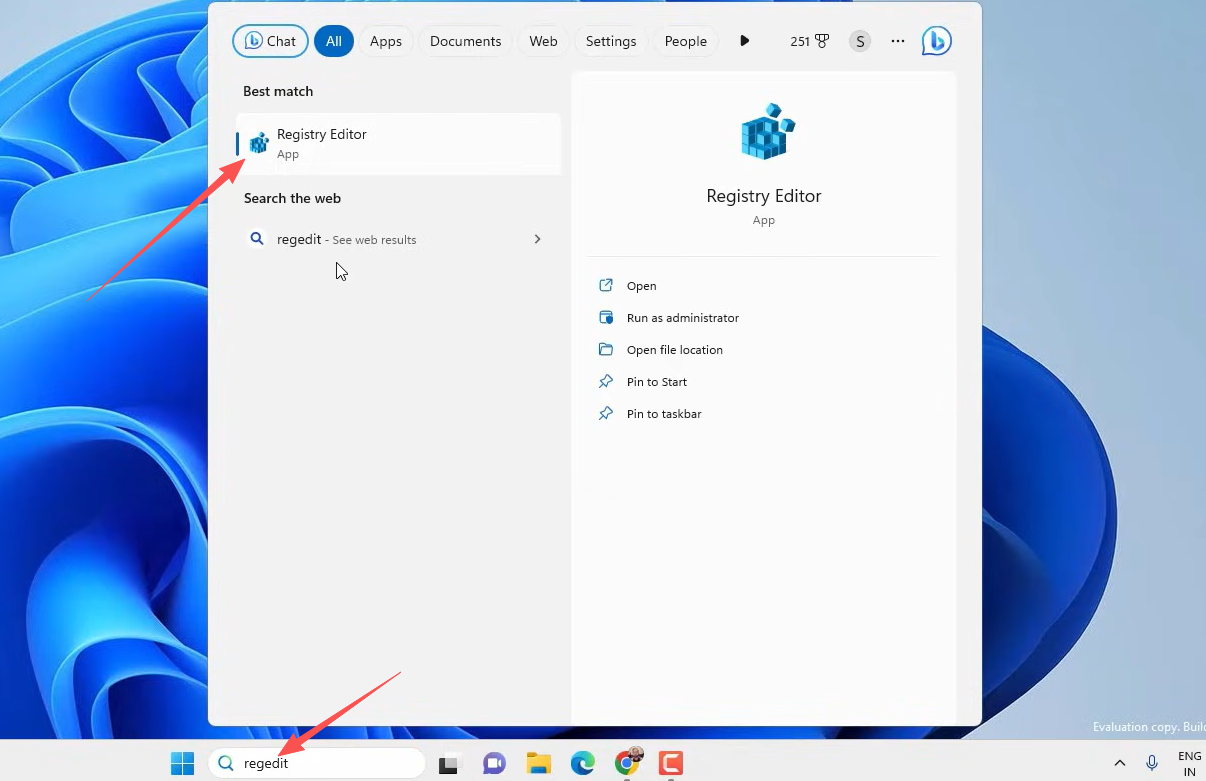
Step 1 — Open Registry Editor
Press Win + R to open the Run dialog (or search in the Start menu), type regedit, and press Enter. Click Yes if prompted by User Account Control.
Step 2 — Navigate to the Print Key
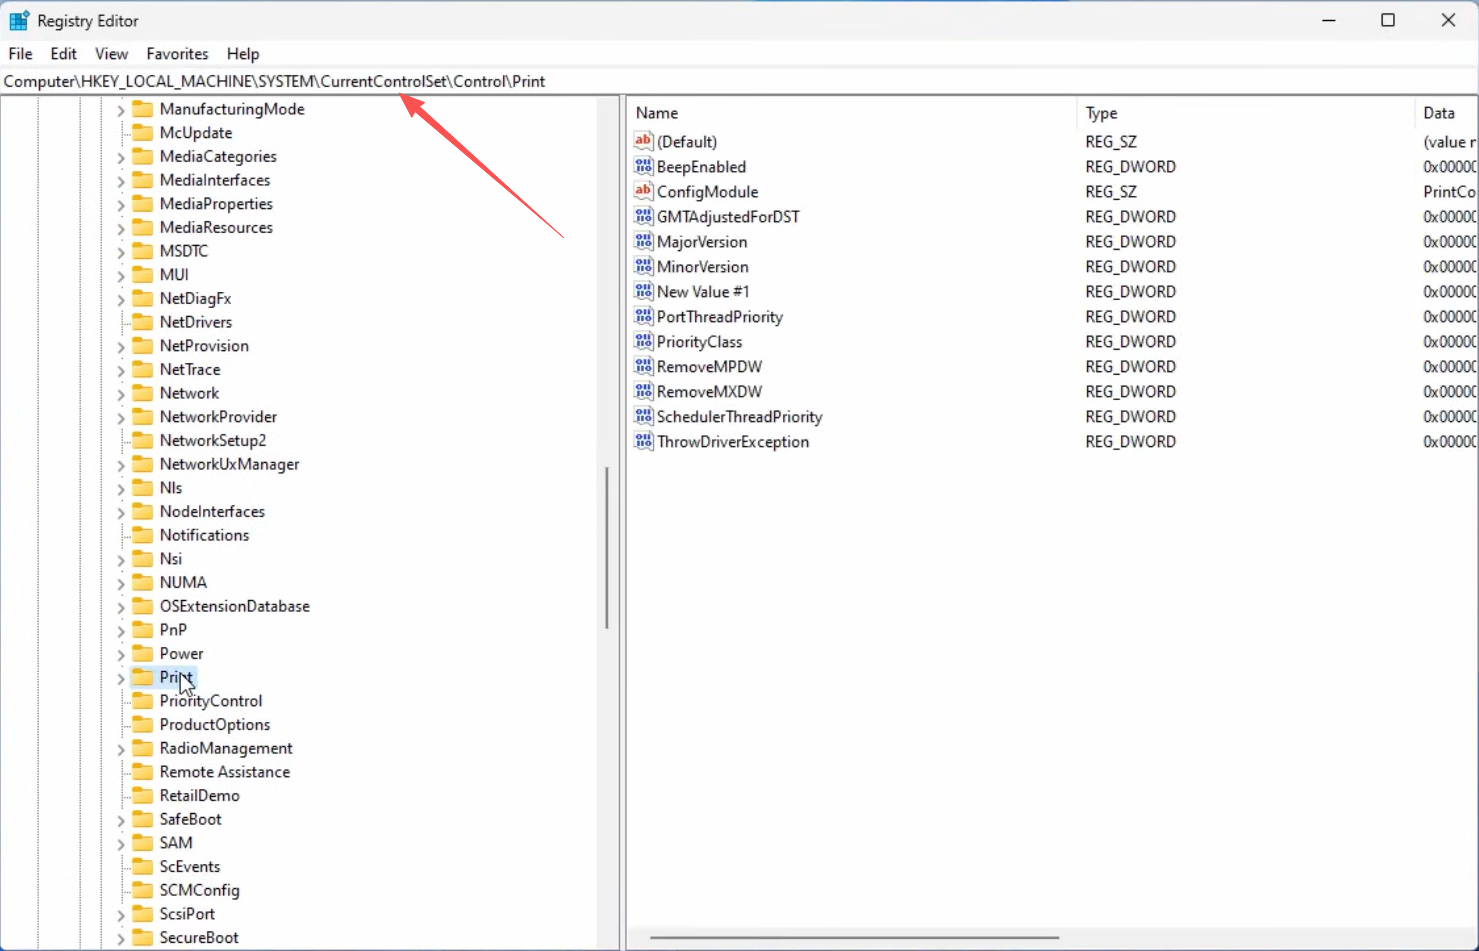
In the address bar at the top of Registry Editor, paste the following path and press Enter:
HKEY_LOCAL_MACHINE\SYSTEM\CurrentControlSet\Control\Print
Step 3 — Create a New DWORD Value
- Right-click on an empty area in the right-hand pane.
- Select New → DWORD (32-bit) Value.
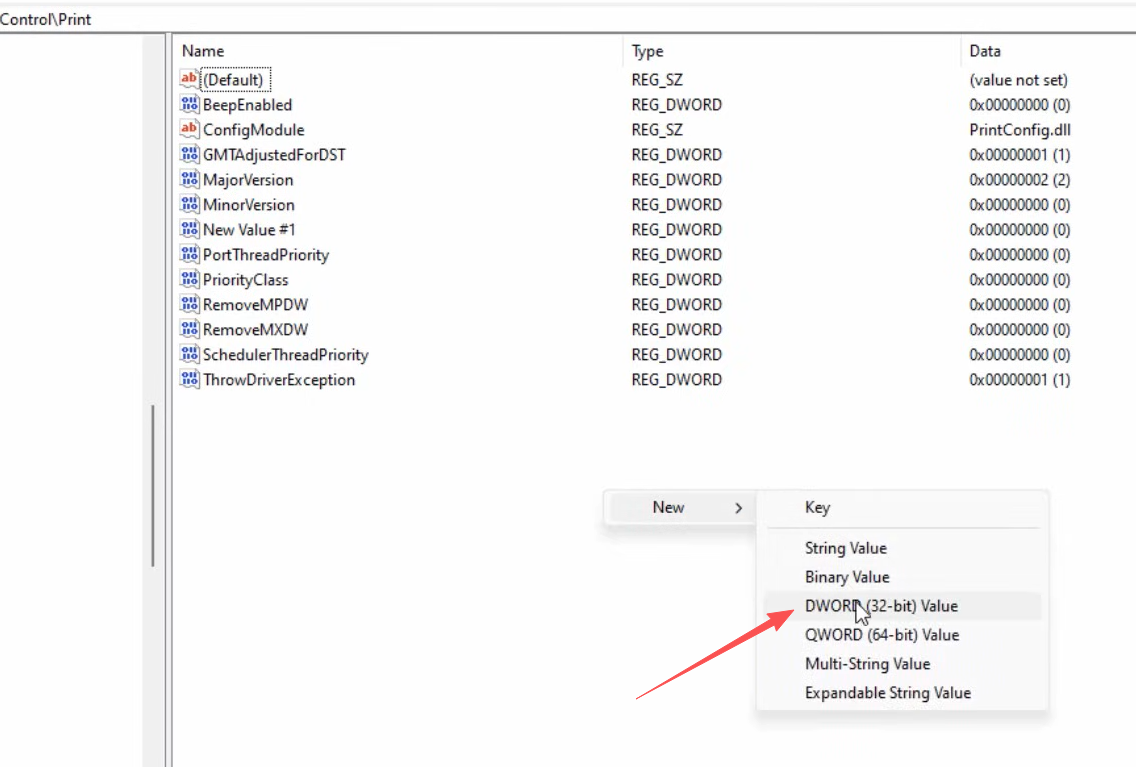
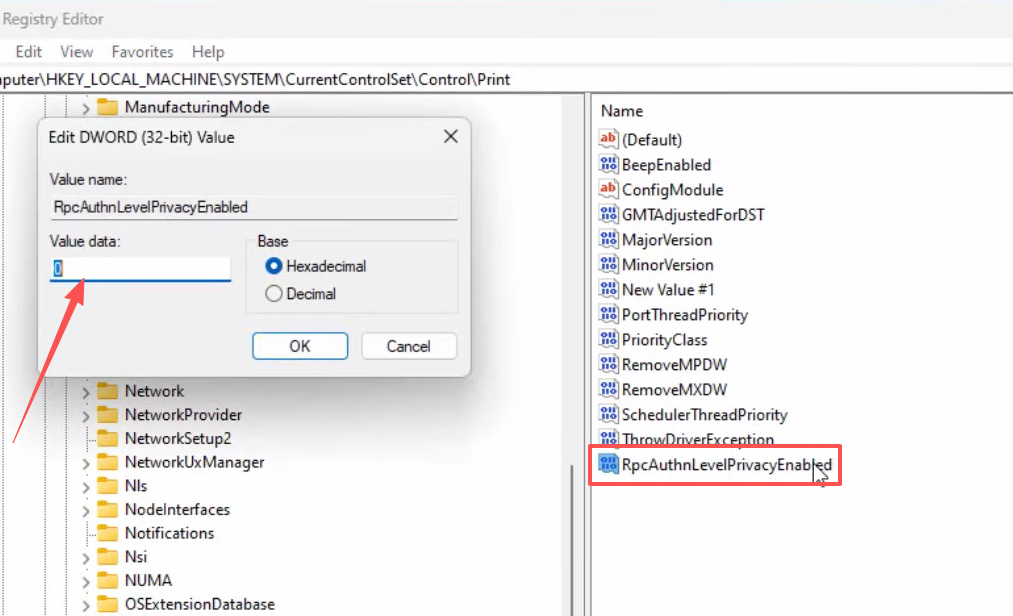
- Name the new value exactly:
RpcAuthnLevelPrivacyEnabled
Step 4 — Set the Value to 0
- Double-click the newly created
RpcAuthnLevelPrivacyEnabledentry. - In the Value data field, enter
0. - Make sure Base is set to Hexadecimal.
- Click OK.
Step 5 — Restart and Verify
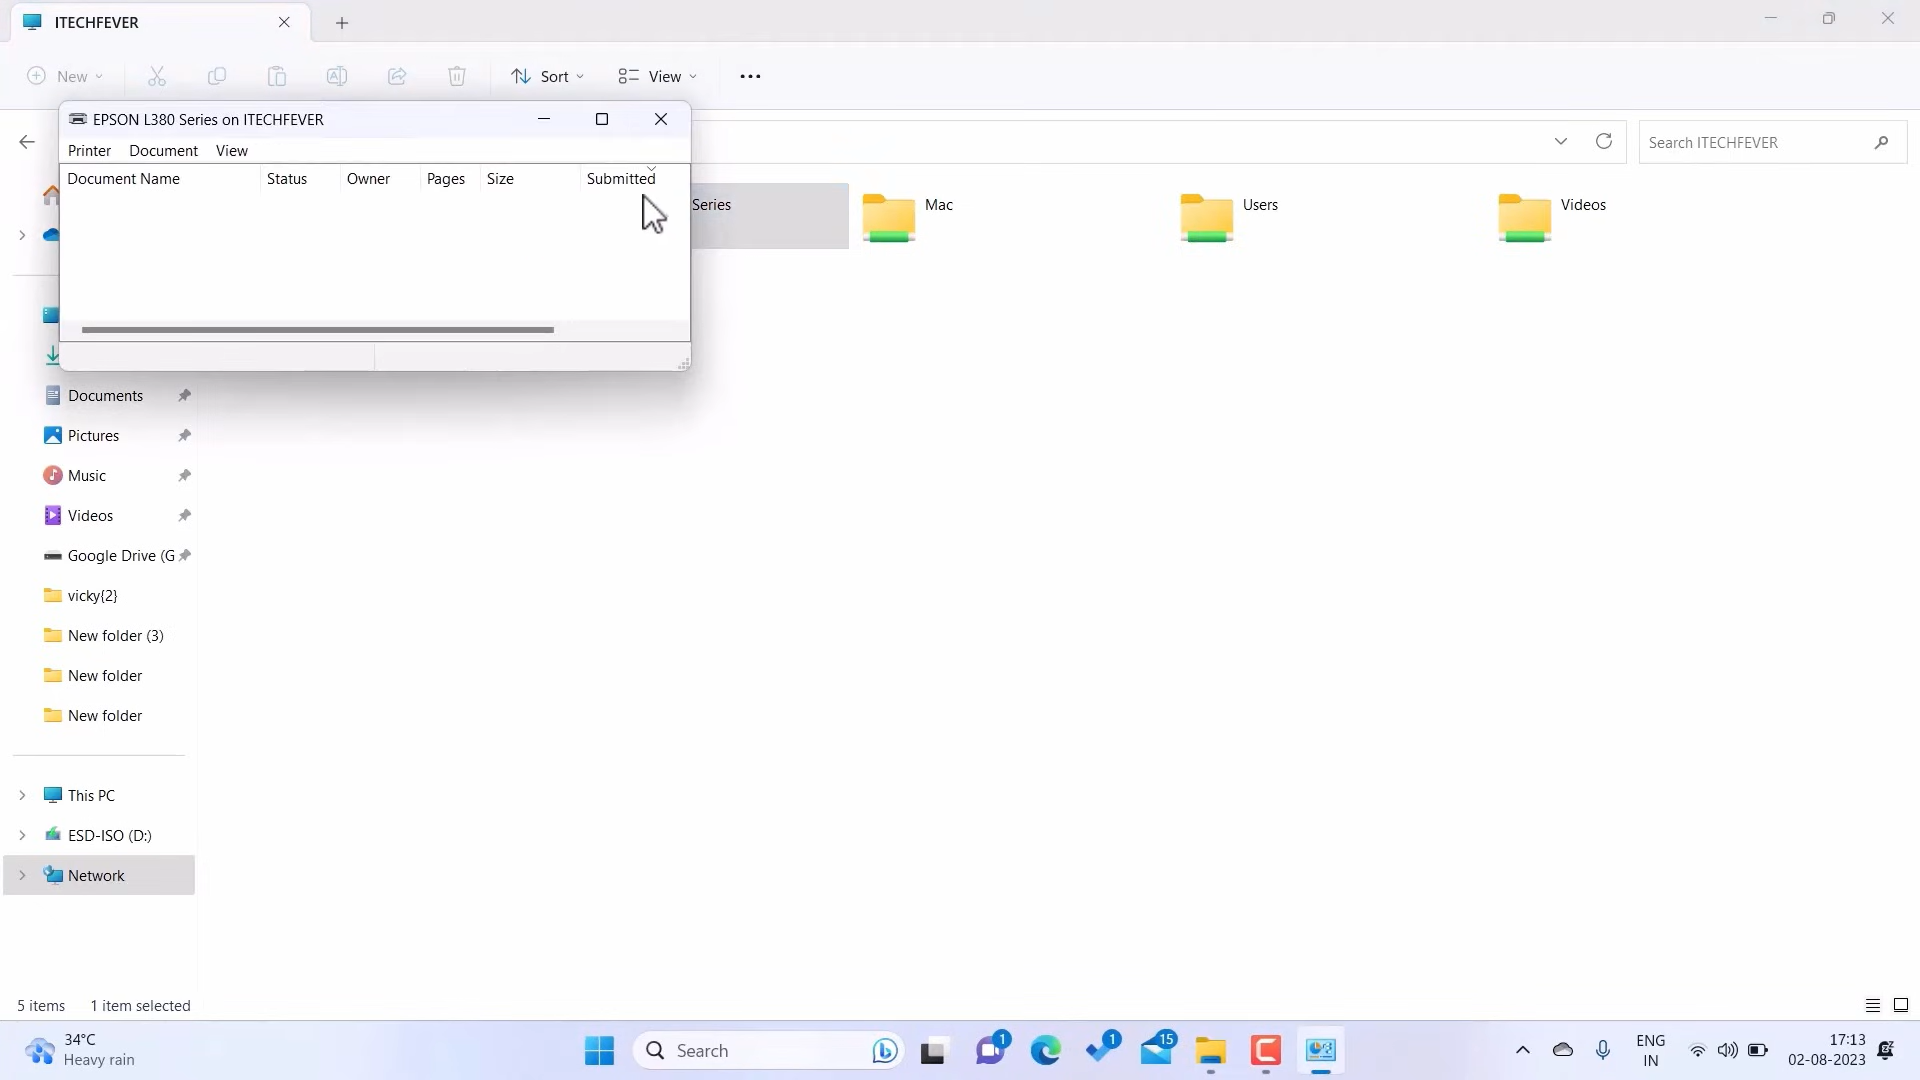
Close Registry Editor and restart your computer. After rebooting, try connecting to the shared printer again — the connection should succeed.
Why This Fix Works
Setting RpcAuthnLevelPrivacyEnabled to 0 tells Windows to use the previous, less strict RPC authentication behaviour when communicating with shared printers. This restores compatibility with print servers that haven’t been updated or configured to support the newer authentication requirement.
Still Getting the Error?
If the fix above did not resolve your issue, check these additional steps:
- Try the fix on the host computer too — apply the same registry change on the PC that is sharing the printer, then restart it.
- Check the Windows Firewall — make sure File and Printer Sharing is allowed through the firewall on both computers.
- Verify both computers are on the same network — confirm they share the same subnet (e.g., both have IP addresses starting with
192.168.1.x). - Restart the Print Spooler service — press Win + R, type
services.msc, find Print Spooler, right-click and select Restart.
Summary
| Step | Action |
|---|---|
| 1 | Open Registry Editor (Win + R → regedit) |
| 2 | Navigate to HKEY_LOCAL_MACHINE\SYSTEM\CurrentControlSet\Control\Print |
| 3 | Create a new DWORD (32-bit) value |
| 4 | Name it RpcAuthnLevelPrivacyEnabled and set it to 0 |
| 5 | Restart your computer |
Error 0x0000011b is annoying but straightforward to fix once you know the cause. The registry edit takes under two minutes and reliably restores shared printer access on Windows 10 and Windows 11.