HP LaserJet Pro P1102 Printer Driver Download and Installation Guide for Windows
The HP LaserJet Pro P1102 is a popular entry-level black-and-white laser printer from HP, known for its compact size, cost-effective consumables, and low failure rate. It is widely used by home users, small shops, and startup offices. After reinstalling Windows, switching computers, experiencing driver file corruption, or upgrading to a new Windows version, the P1102 driver can stop working — causing the printer to become undetectable or unable to receive print jobs. This guide shows you how to choose the right driver, download it from the official source, and install it correctly.
Step 1 — Choose the Right HP P1102 Driver Type
Before downloading, identify which driver version suits your needs. Choosing the wrong type can cause missing features even when the download source is legitimate.
1. Full Feature Software and Driver — Includes the core print driver plus ink/toner level monitoring, custom print parameter tools, and a self-diagnostic utility. This is the recommended choice for regular office use and for users who want full control over print settings. It is the most popular P1102 driver option.
2. Basic Driver — A smaller installation package that includes only the essential print driver files with no additional software. Ideal for home users who only need basic printing and want to save disk space.
HP clearly separates these two driver packages for the P1102, allowing you to pick exactly what you need without having to unpack a bundled all-in-one installer.
Step 2 — Download the HP P1102 Driver from the Official HP Website
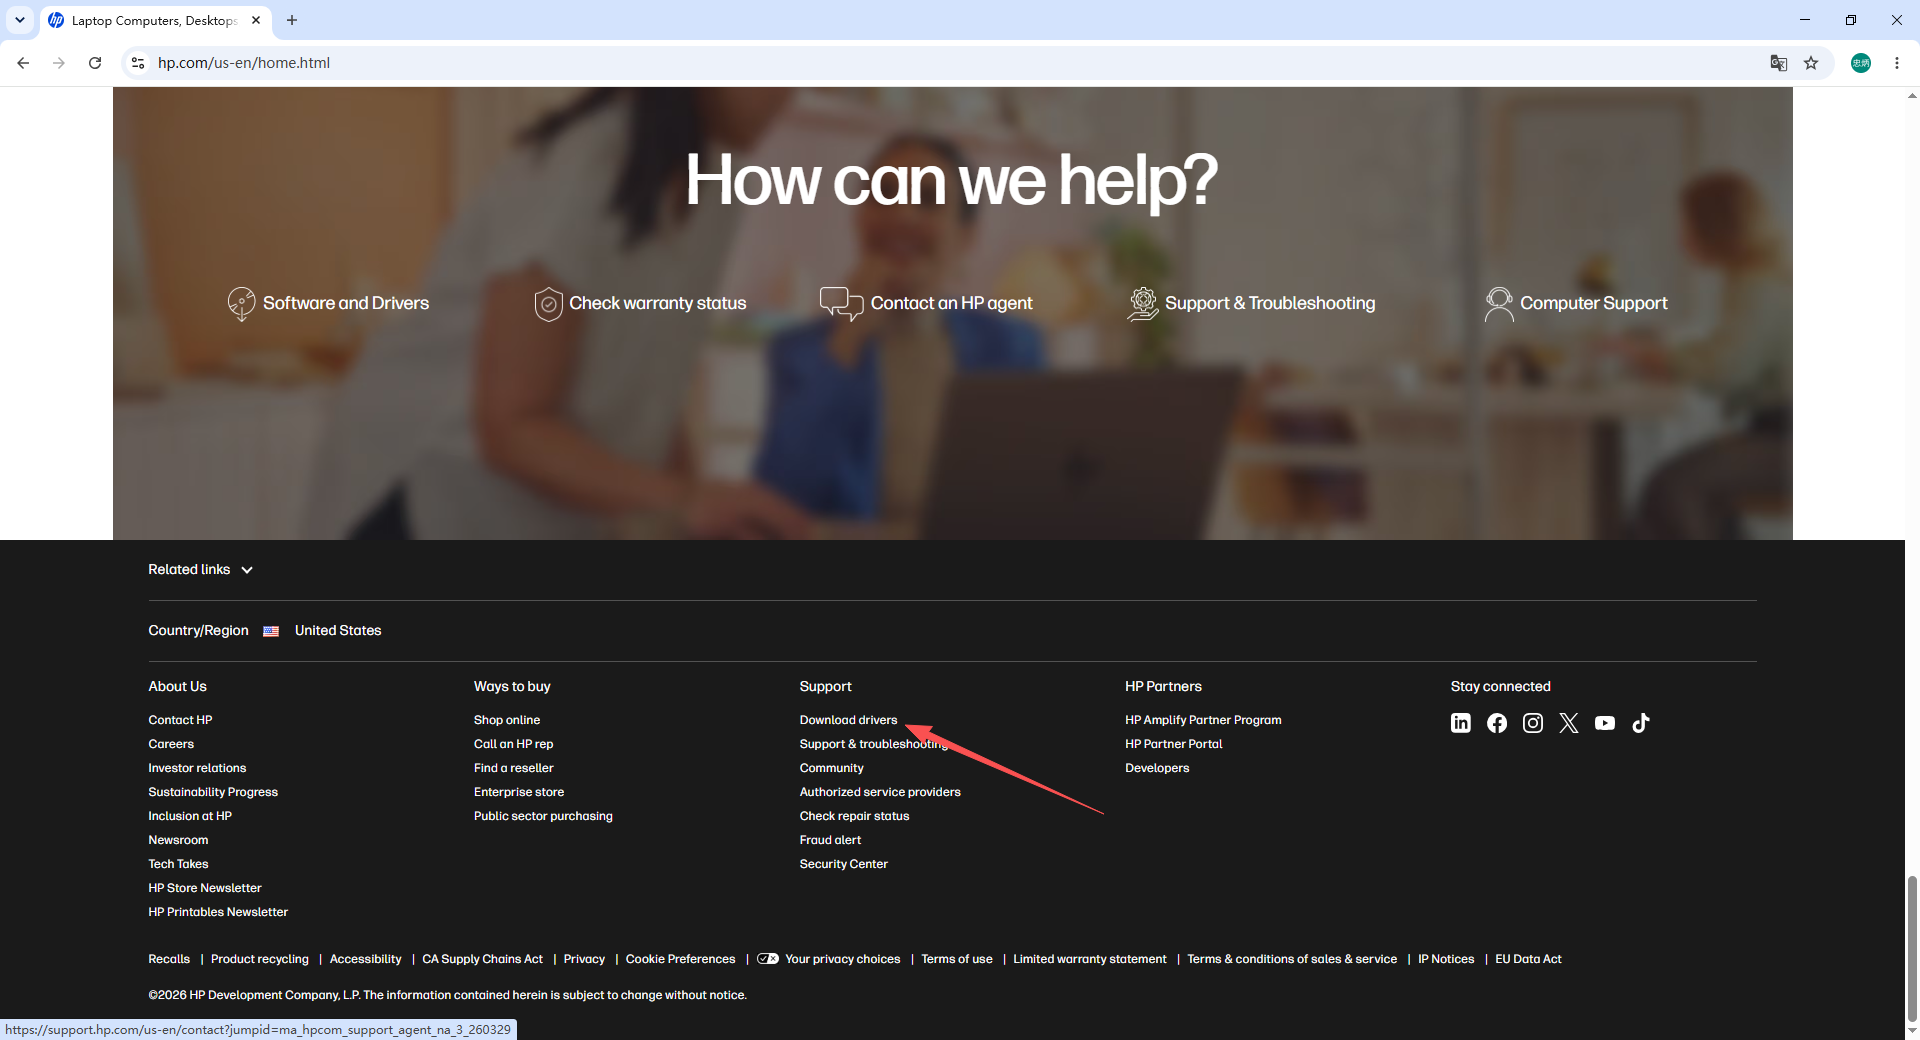
1. Open the HP official support website, scroll to the bottom of the page, and click the driver download link.

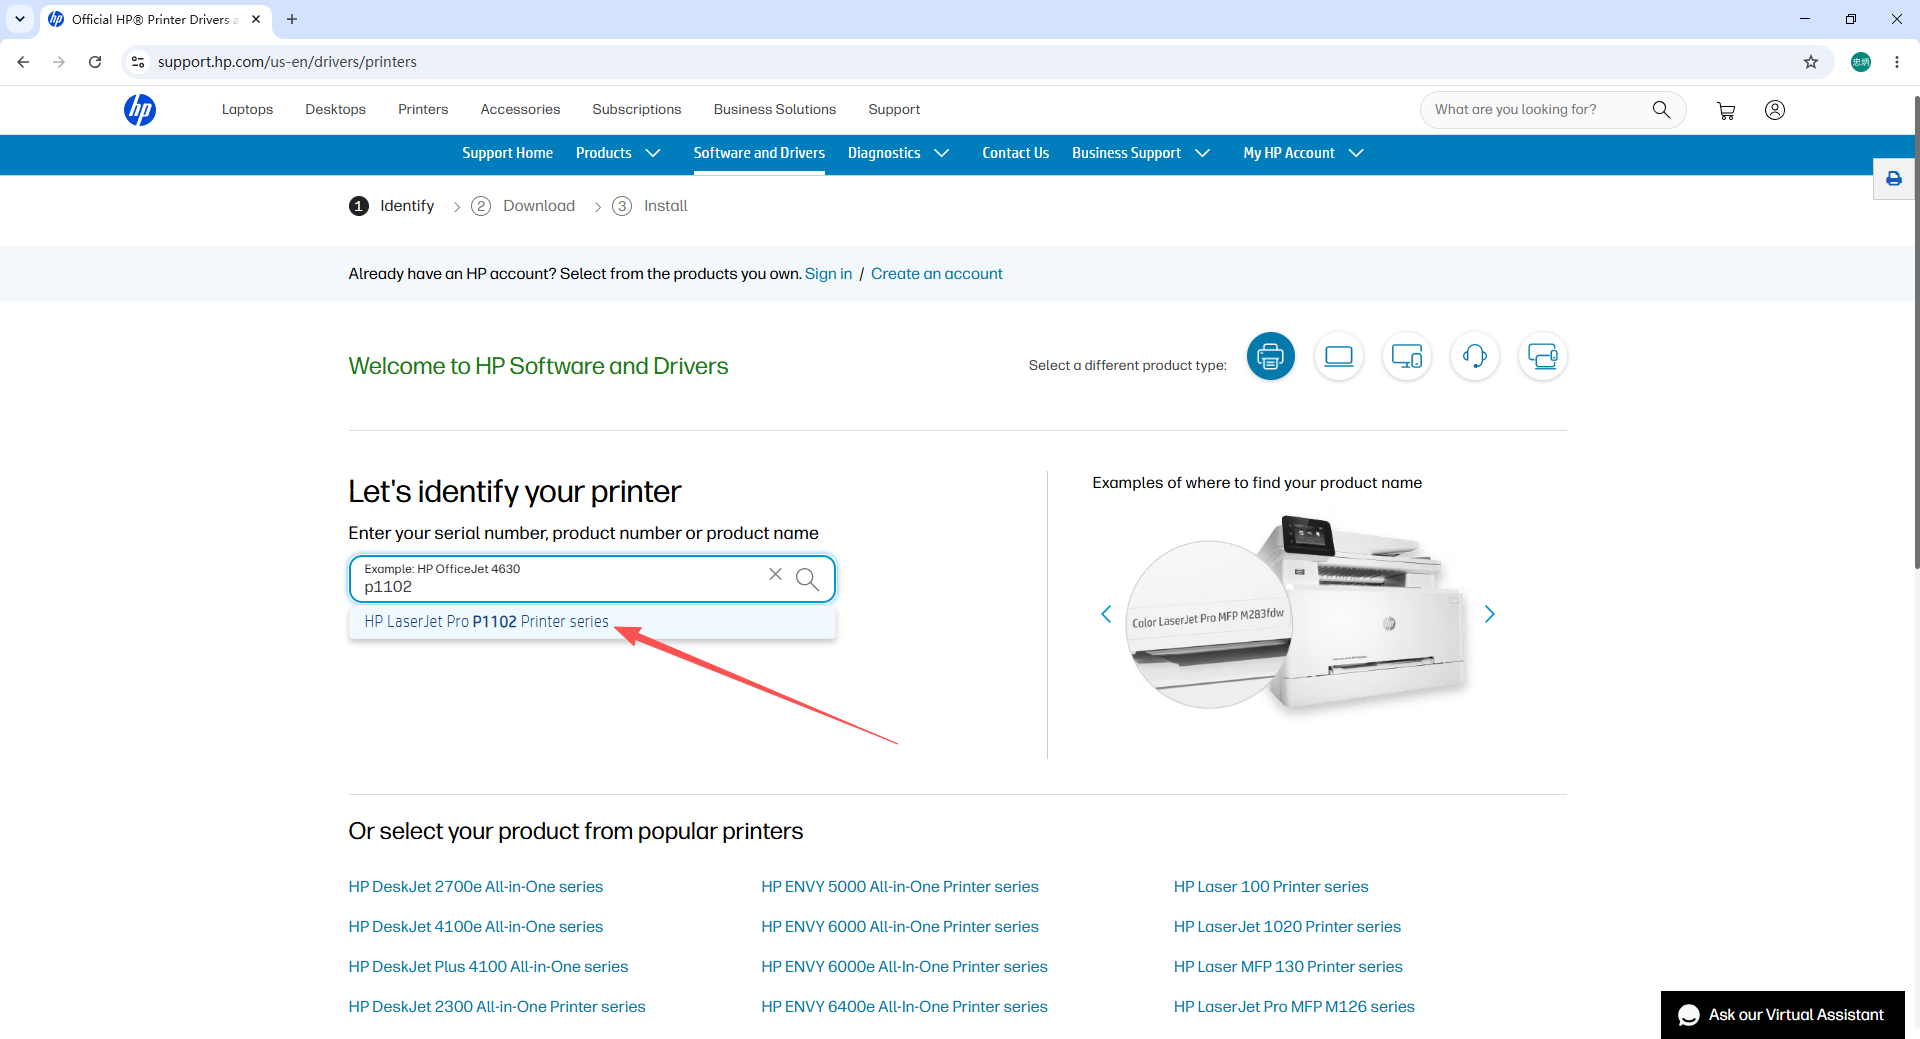
2. Type P1102 in the search box. The website will automatically suggest the full model name. Click the correct result to open the product support page.
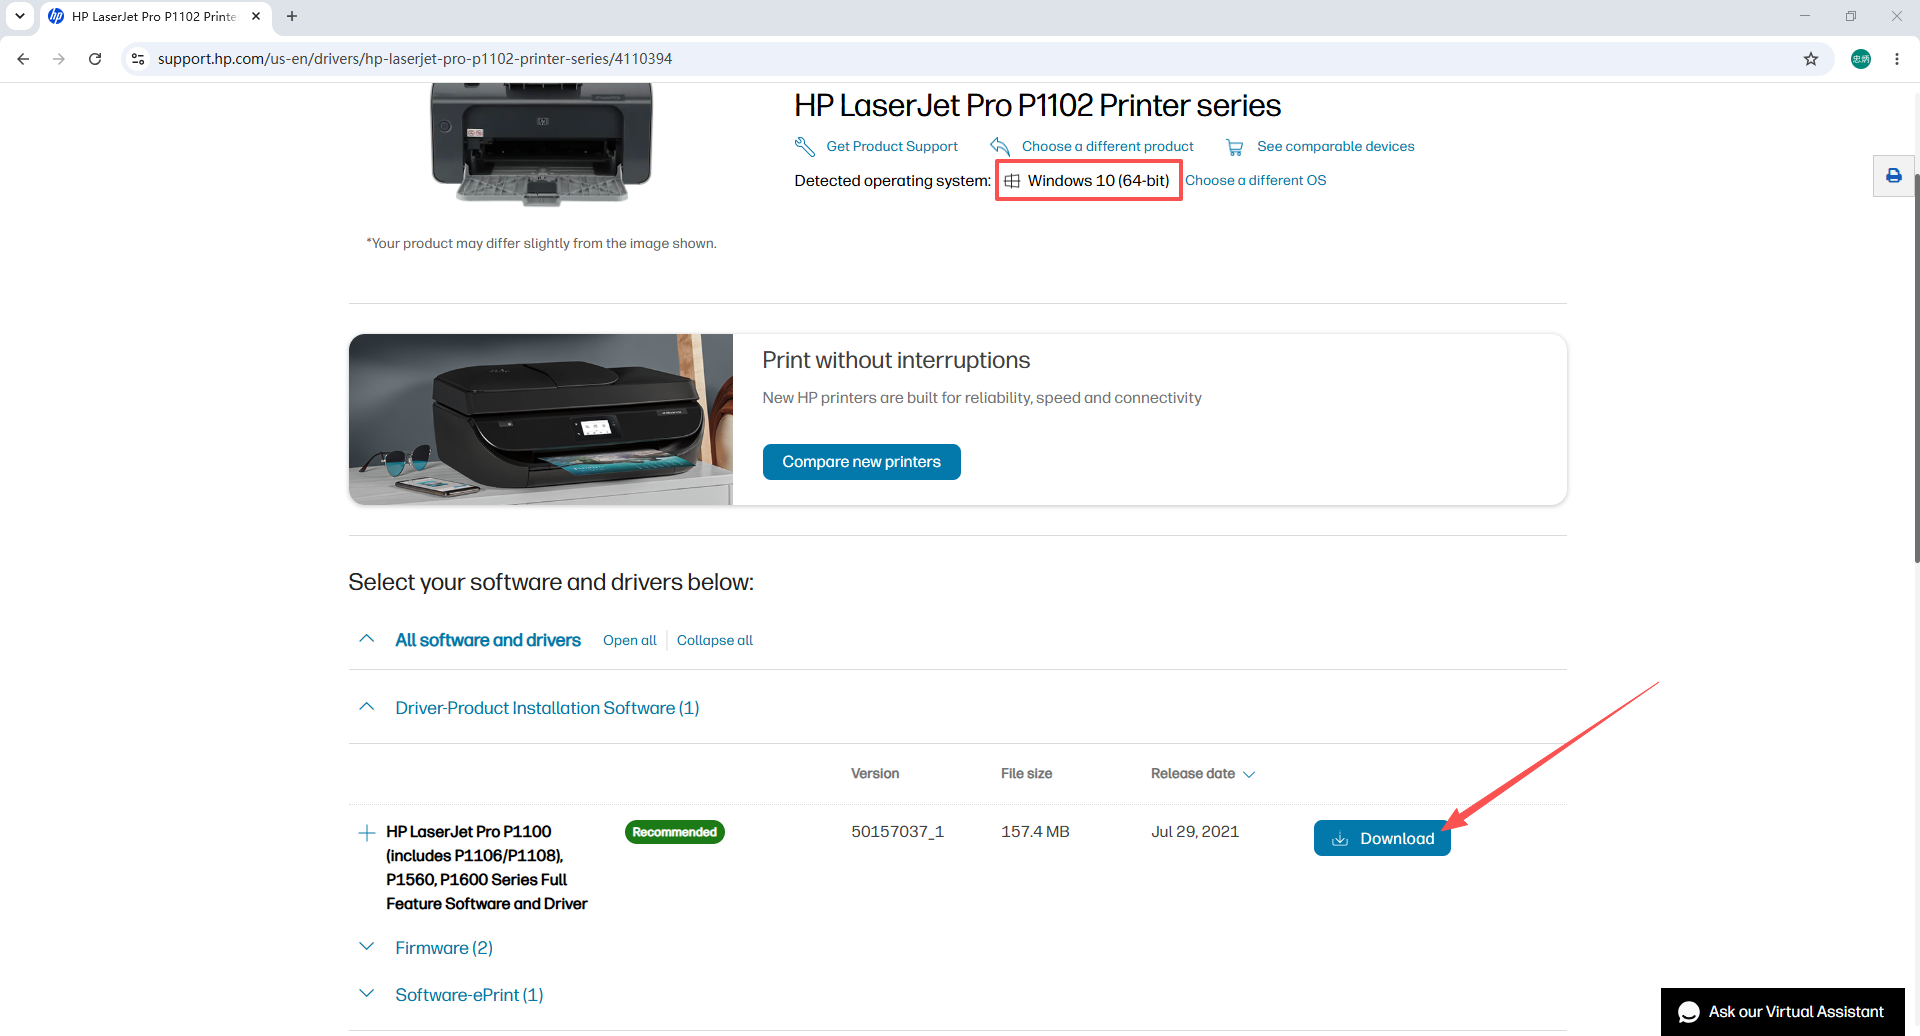
3. The website automatically detects your operating system. Confirm the detected OS and architecture (32-bit or 64-bit) are correct, select the driver type (Full Feature or Basic), and click Download to save the file to your computer.
Step 3 — Install the HP P1102 Driver
1. Connect the HP LaserJet Pro P1102 to your PC using the original USB cable and turn the printer on. Temporarily disable your antivirus or security software to prevent it from blocking the installer.
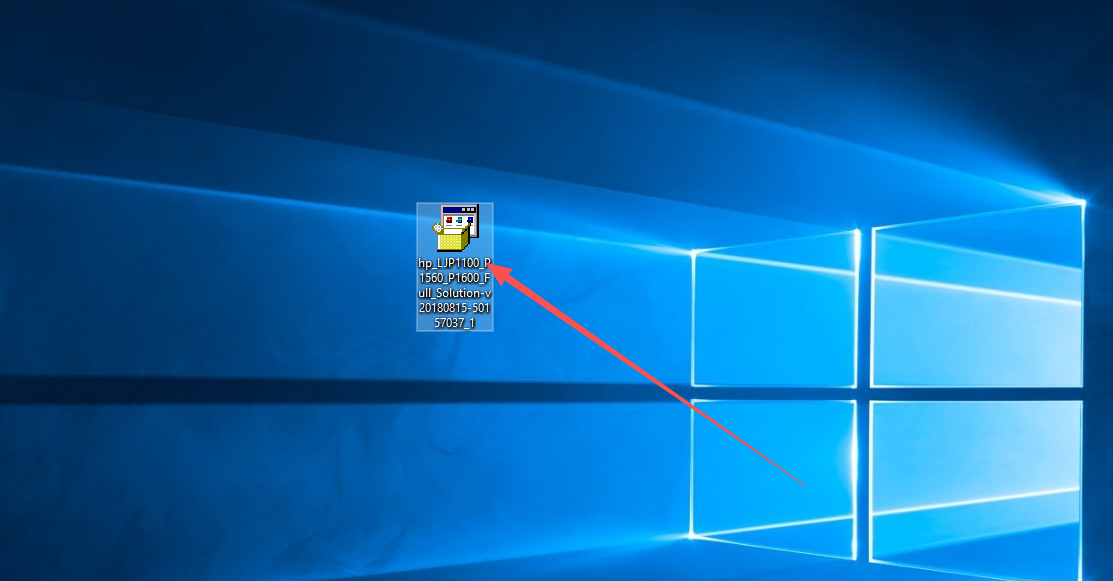
2. Locate the downloaded driver file and double-click it to launch the installer.
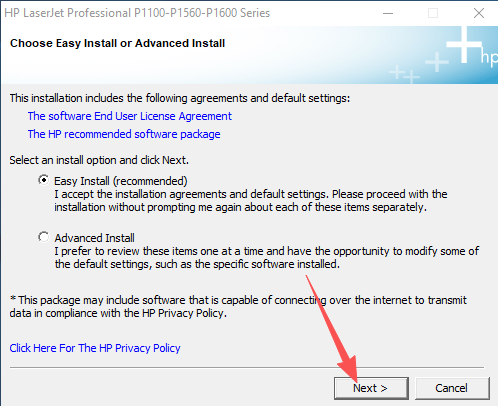
3. Select the installation method and click Next.
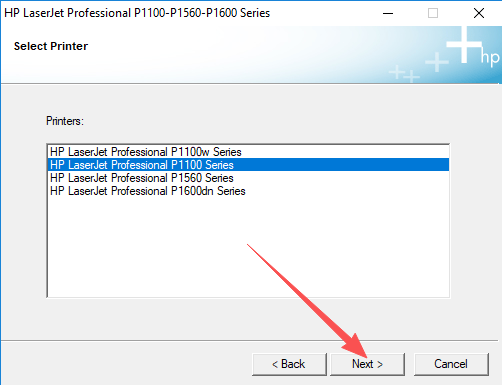
4. Select the printer model series from the list and click Next.
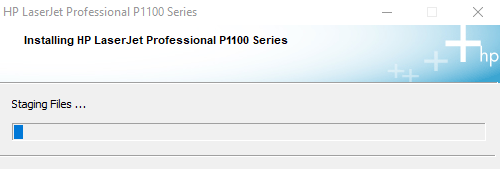
5. Wait for the installation to complete. Do not disconnect the USB cable or close the window during this process.
6. Once installation finishes, print a test page to confirm the printer is working. Re-enable your antivirus software.
Common HP P1102 Driver Problems and Fixes
1. PC cannot detect the printer hardware Switch to a rear USB port on your desktop PC — front ports often have insufficient power. Also check the USB cable for physical damage; a worn or broken cable is a common cause of detection failure. Replace the cable and reconnect.
2. Installation shows “system incompatible” error Check whether your Windows is 32-bit or 64-bit (right-click This PC → Properties). Return to the HP website and download the driver version that exactly matches your system architecture.
3. Printer shows as offline and cannot print Open Control Panel → Devices and Printers, right-click the HP P1102, and set it as the default printer. Then open the print queue and cancel all pending jobs before trying again.
4. Old driver conflict causes installation failure Open Control Panel → Programs and Features, uninstall all existing HP LaserJet driver entries, restart the computer, then install the freshly downloaded driver.
Important Tips for HP P1102 Driver Installation
- Windows 11 users: Some Windows 11 builds include a basic built-in driver for the P1102, but this built-in driver has limited functionality and supports only basic printing. Download and install the full HP driver to access all features.
- Wireless printing: After installing the Full Feature driver, you can configure wireless network settings through the bundled HP software. The Basic Driver does not support wireless setup — you must use the Full Feature package for Wi-Fi printing.
- After a Windows update: Windows updates sometimes replace or disable third-party printer drivers. If the P1102 stops working after a Windows update, simply reinstall the driver using the steps above.
Frequently Asked Questions
Q: Which Windows versions support the HP LaserJet Pro P1102 driver? The official HP driver supports Windows 7, Windows 10, and Windows 11 in both 32-bit and 64-bit editions. For Windows 8/8.1, the Windows 7 driver is generally compatible.
Q: What is the difference between the Full Feature driver and the Basic Driver for the P1102? The Full Feature driver includes print, wireless setup, toner monitoring, and diagnostic tools. The Basic Driver includes only the core print driver. If you need wireless printing or toner level alerts, choose the Full Feature package.
Q: The HP website detected the wrong OS version — how do I change it? On the HP driver download page, look for a “Change” or “Detect again” link next to the detected operating system. Click it to manually select your correct OS version and architecture before downloading.
Q: Can I install the HP P1102 driver without a USB connection? No — the P1102 requires a USB connection during the initial driver installation. Once the Full Feature driver is installed, you can configure Wi-Fi printing through the HP software, but the first installation must be done via USB.
Q: My printer was working fine but stopped after a Windows update. What should I do? Reinstall the HP P1102 driver. Windows updates sometimes overwrite printer drivers. Download the latest driver from the HP website, run the installer, and the printer will work again.
Summary
Installing the HP LaserJet Pro P1102 driver correctly comes down to two key decisions: choosing the right driver type (Full Feature vs. Basic) and downloading it from the official HP source. Follow these steps:
- Choose the driver type — Full Feature for complete functionality, Basic for simple printing
- Download from the HP official website — let the site auto-detect your OS, confirm it is correct
- Connect via USB, disable antivirus temporarily, and run the installer
- If errors occur — check USB port and cable, verify OS architecture match, remove old drivers first